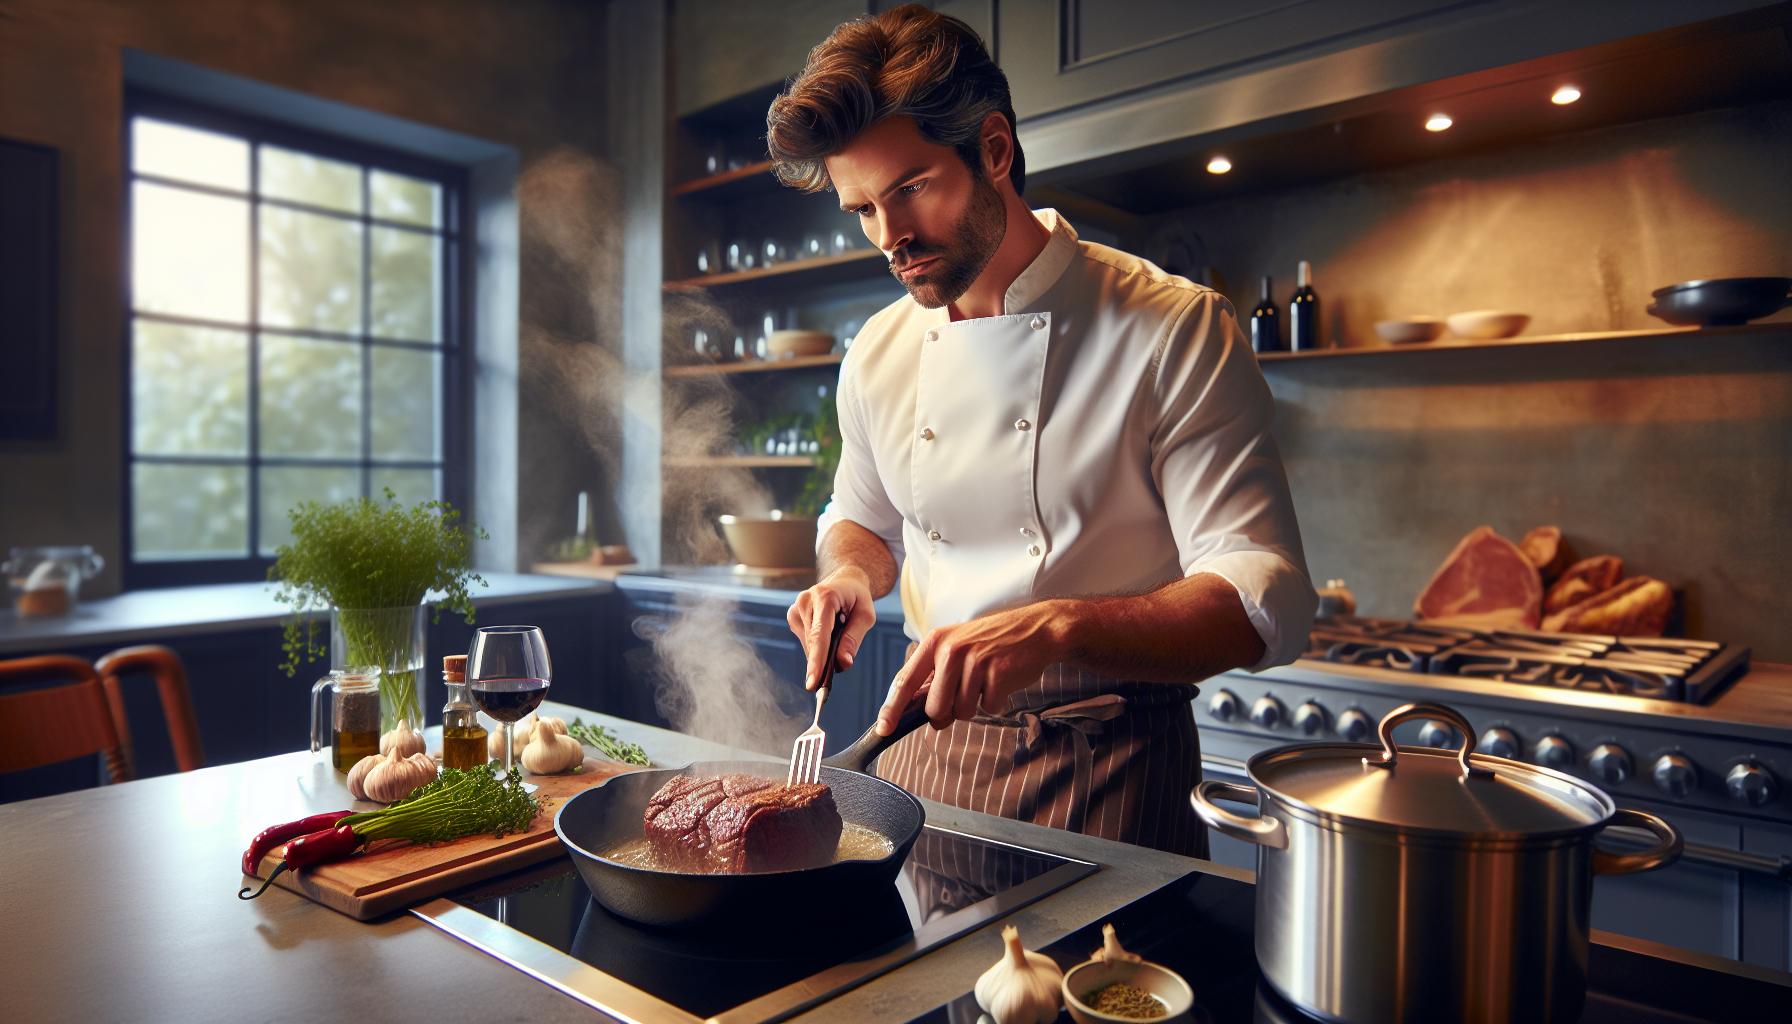
Transforming a tough chuck roast into a mouthwatering masterpiece requires the right cooking technique. During culinary demonstrations, chefs often showcase various methods to elevate this humble cut of beef into something extraordinary. From slow-roasting to braising these techniques can make all the difference between a tender, flavorful meal and a disappointing dinner.
Understanding the cooking method demonstrated for chuck roast isn’t just about following a recipe – it’s about mastering the science of meat preparation. Whether you’re a home cook looking to replicate that perfect demonstration or simply curious about professional cooking techniques this guide will reveal the exact method used and why it works so well. Let’s dive into the culinary mystery and uncover how this budget-friendly cut became the star of the show.
Understanding Chuck Roast Basics
Chuck roast comes from the shoulder area of the cow, offering a perfect balance of meat, fat and connective tissue. This cut requires specific cooking techniques to transform its tough texture into tender, flavorful meat.
Anatomy of a Chuck Roast
Chuck roast features distinct muscle groups separated by connective tissue bands. The primary muscles include the supraspinatus in the top blade area, infraspinatus along the shoulder blade region and the complexus near the neck. A typical chuck roast contains:
- Intramuscular fat marbling throughout the meat fibers
- Collagen-rich connective tissues between muscle groups
- External fat cap measuring 1/4 to 1/2 inch thick
- Multiple grain directions due to overlapping muscles
- Dense protein fibers requiring proper breakdown
- Braising at 325°F for 2.5-3 hours in liquid
- Dutch oven cooking with vegetables at 300°F
- Slow roasting at 250°F for 4-5 hours
- Pressure cooking for 60-75 minutes at high pressure
- Sous vide preparation at 135°F for 24-48 hours
| Cooking Method | Temperature | Duration |
|---|---|---|
| Braising | 325°F | 2.5-3 hours |
| Slow Roasting | 250°F | 4-5 hours |
| Pressure Cooking | High | 60-75 min |
| Sous Vide | 135°F | 24-48 hours |
Braising Technique Demonstrated
Braising transforms the chuck roast through a combination of dry and moist heat cooking methods. The demonstration showcases this classic technique that breaks down tough muscle fibers while maintaining the meat’s rich flavor.
Low and Slow Braising Process
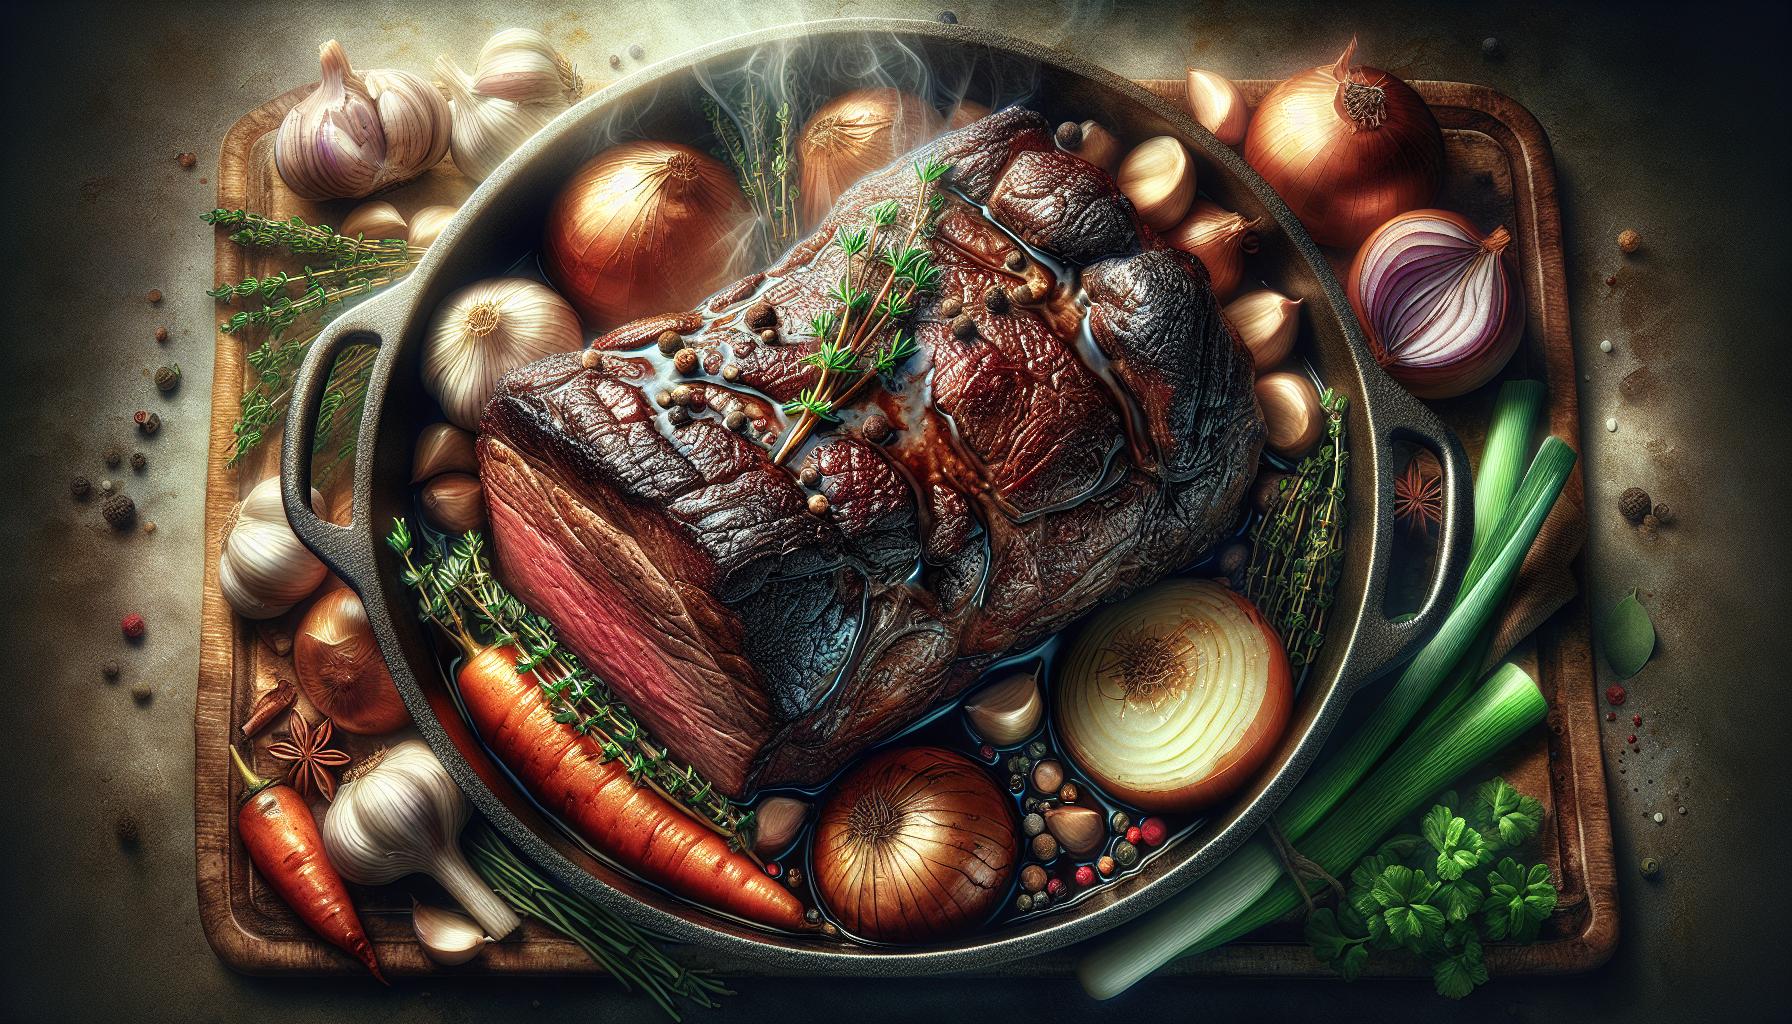
The braising process begins by searing the chuck roast at 450°F for 8-10 minutes on each side, creating a caramelized crust. After searing, the temperature drops to 325°F for the extended cooking phase. The roast rests in a Dutch oven or braising pan, elevated slightly above the cooking liquid using a rack. This positioning allows the meat to cook through indirect heat while capturing the rising steam. The entire braising process takes 2.5-3 hours, with the meat reaching an internal temperature of 205°F for optimal tenderness.
Liquid and Seasonings Used
The braising liquid combines 2 cups beef stock 1 cup red wine 2 tablespoons tomato paste to create a flavorful foundation. Key aromatics include:
- 3 garlic cloves smashed
- 2 bay leaves
- 2 sprigs fresh thyme
- 1 large diced onion
- 2 chopped carrots
- 2 chopped celery stalks
The seasoning mixture consists of:
- 2 tablespoons kosher salt
- 1 tablespoon black pepper
- 1 tablespoon paprika
- 2 teaspoons dried oregano
The liquid level maintains at one-third height of the roast throughout cooking ensuring proper moisture without submerging the meat.
Proper Temperature and Timing
Temperature control and timing precision transform a chuck roast from tough to tender through a two-phase cooking process. These specific measurements ensure optimal results during both the searing and extended cooking phases.
Initial Searing Phase
The searing process begins at 450°F (232°C) with a preheated cast iron skillet or Dutch oven. Each side of the chuck roast requires 8-10 minutes of direct heat contact to develop a golden-brown crust. The high temperature triggers the Maillard reaction, creating complex flavor compounds on the meat’s surface. A digital meat thermometer confirms the initial internal temperature reaches 125°F (52°C) before moving to the next phase.
| Searing Phase Details | Temperature/Time |
|---|---|
| Cooking Temperature | 450°F (232°C) |
| Duration per Side | 8-10 minutes |
| Internal Temp Target | 125°F (52°C) |
Extended Cooking Duration
The main cooking phase maintains a consistent temperature of 325°F (163°C) for braising or 250°F (121°C) for slow roasting. Braising requires 2.5-3 hours while slow roasting extends to 4-5 hours. The internal temperature rises gradually to reach 190°F (88°C), indicating the collagen has converted to gelatin. A probe thermometer monitors the progress throughout this phase.
| Cooking Method | Temperature | Duration | Final Internal Temp |
|---|---|---|---|
| Braising | 325°F (163°C) | 2.5-3 hours | 190°F (88°C) |
| Slow Roasting | 250°F (121°C) | 4-5 hours | 190°F (88°C) |
Testing for Doneness
Testing chuck roast doneness involves evaluating multiple physical indicators combined with precise temperature measurements. These indicators determine the perfect balance between tenderness melt-in-your-mouth texture.
Meat Tenderness Indicators
A properly cooked chuck roast exhibits distinct physical characteristics that signal doneness. The meat separates effortlessly with minimal resistance when pierced with a fork. A gentle prod with tongs reveals meat fibers that fall apart rather than remaining rigid. The roast’s surface develops a rich mahogany color with a slight bark formation. Visual cues include slight shrinkage from the original size slight separation of the muscle groups.
Internal Temperature Goals
Internal temperature targets vary based on the desired level of tenderness:
| Stage | Temperature | Result |
|---|---|---|
| Rare | 125°F | Tough meat minimal collagen breakdown |
| Medium | 155°F | Partial collagen conversion |
| Fork-tender | 190-195°F | Complete collagen breakdown maximum tenderness |
| Overcooking | Above 205°F | Dry stringy texture moisture loss |
The optimal internal temperature ranges from 190-195°F for complete collagen breakdown. A digital meat thermometer inserted into the thickest part provides accurate readings. Multiple temperature checks in different locations ensure even cooking throughout the roast.
Serving and Resting the Roast
The chuck roast requires a 20-30 minute resting period after reaching the target internal temperature. This critical resting phase allows the meat’s juices to redistribute throughout the roast, ensuring maximum flavor retention.
Proper Slicing Technique
The optimal slicing approach begins with locating the direction of the meat’s grain pattern. A sharp carving knife cuts across the grain at a 90-degree angle in clean, single strokes to create uniform 1/4-inch thick slices. The blade maintains consistent pressure without sawing motions, preventing the meat from shredding. Each slice separates effortlessly due to the previous braising process breaking down connective tissues. A sturdy cutting board with a juice groove captures any released liquids for later incorporation into the sauce.
Sauce and Accompaniments
The braising liquid transforms into a rich sauce through a reduction process over medium heat for 10-15 minutes. Straining removes solid aromatics while maintaining the sauce’s silky texture. Classic accompaniments include roasted root vegetables such as carrots potatoes parsnips cooked directly in the braising liquid. Creamy mashed potatoes serve as an ideal base to absorb the flavorful sauce. Fresh herbs like thyme rosemary add brightness to the finished plate. A ratio of 1/4 cup sauce per serving provides optimal moisture without overwhelming the meat’s natural flavors.
| Accompaniment | Cooking Method | Time |
|---|---|---|
| Root Vegetables | Braised | 2-2.5 hours |
| Mashed Potatoes | Boiled | 20-25 minutes |
| Fresh Herbs | Raw garnish | N/A |
Conclusion
The demonstration showcased braising as the primary cooking technique for the chuck roast combining both dry and moist heat methods. This technique proved ideal for breaking down tough muscle fibers while maintaining the meat’s rich flavor profile. Through careful temperature control starting with a high-heat sear followed by slow braising at 325°F the chef transformed this economical cut into a tender delectable dish.
The success of the demonstration highlights how proper technique precision timing and temperature control can elevate even the toughest cuts of meat. Home cooks can now confidently replicate these professional methods to achieve restaurant-quality results with their chuck roasts.